
The goal of this project is to set up a simple imaging and deployment server using Windows Server, Active Directory Domain Services and PXE Booting.
Installing Windows Deployment Services
Given a Windows Server with Active Directory Domain Services, DHCP, and DNS installed, in order to install Windows Deployment Services, from the Server Manager Dashboard, click “add roles and features” and in the “add roles and features wizard” click Windows Deployment Services.

Once Windows Deployment Services is installed, restart the server. Once the server is restarted, from the Server Manager Dashboard, click Tools > Windows Deployment Services to launch the Windows Deployment Services window. This is where one can manage boot images and install images.
Managing Boot and Install Images
In order to use the boot.wim and install.wim images for PXE booting, the .ISO file of the operating system we want to install has to be mounted in the optical drive of the server. The boot.wim file will automatically launch the Windows installation in WDS mode when we boot our remote PC. The install.wim file will allow us to choose which Windows operating system we want to install and provides all the installation files for our chosen operating system.
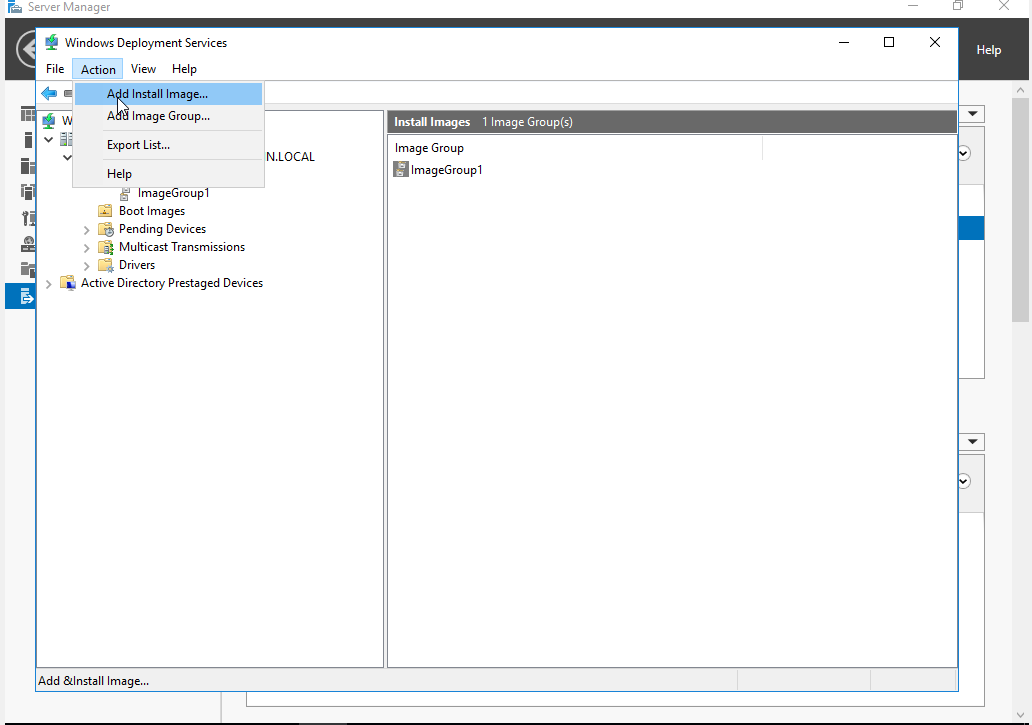
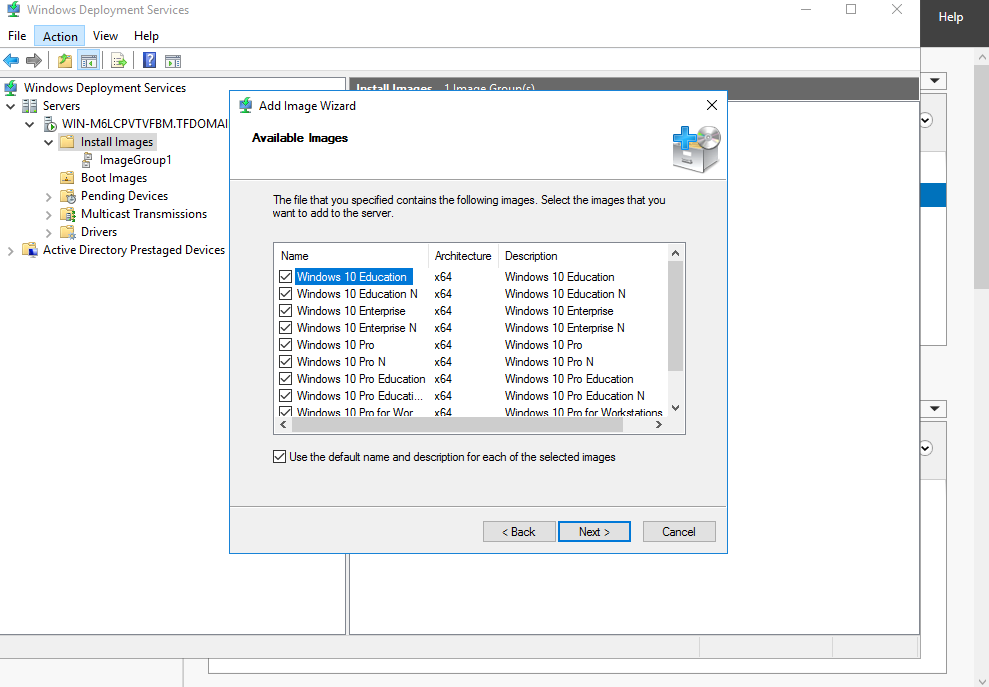
In the left pane of Windows Deployment Services, click the server to highlight it, then click Install Images. Click Action > Add Install Image to launch the Add Image Wizard. In the Wizard, choose the location of the install image and select the operating systems you want to be available to be installed.
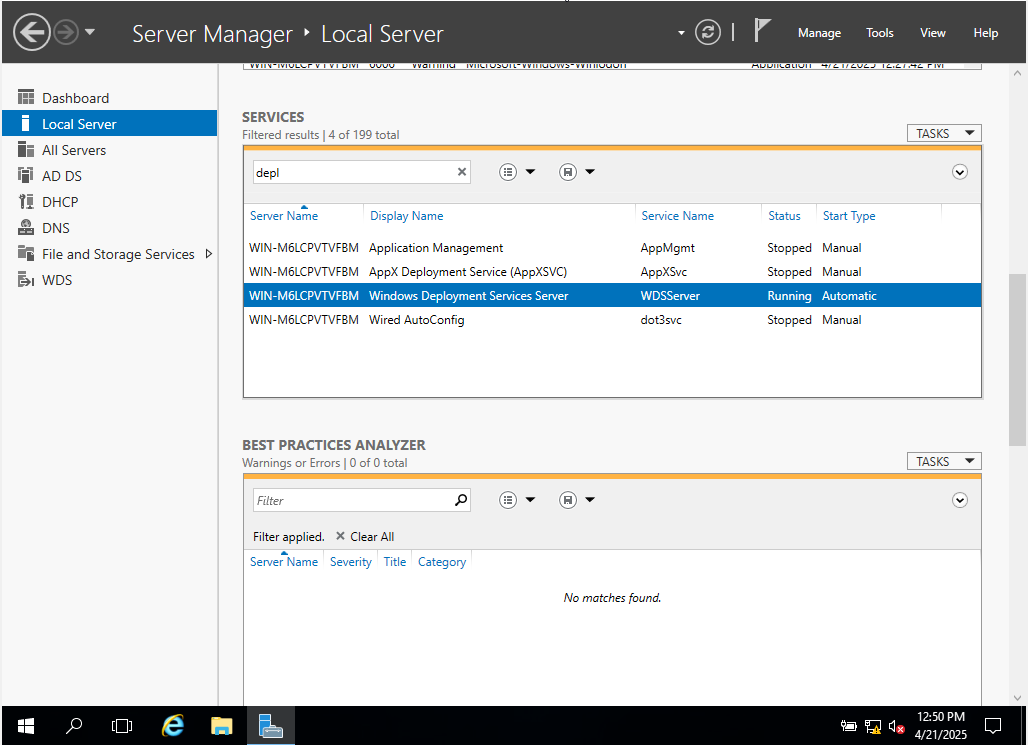
The process for adding a boot image is extremely similar. Simply click Boot Images in the left pane of the Windows Deployment Services window, click Action > Add Boot Image and in the Add Image Wizard, select the location of the boot.wim boot image file. The wizard will give the option to choose a name for the boot image, simply leave it as default. Once the Boot Image and Install Image are selected, the deployment server is ready for use. We can verify by checking the Windows Server Manager dashboard and clicking Local Server on the left side and scrolling down to Services to see that Windows Deployment Services is running.
Installing Windows on a Remote PC via PXE booting
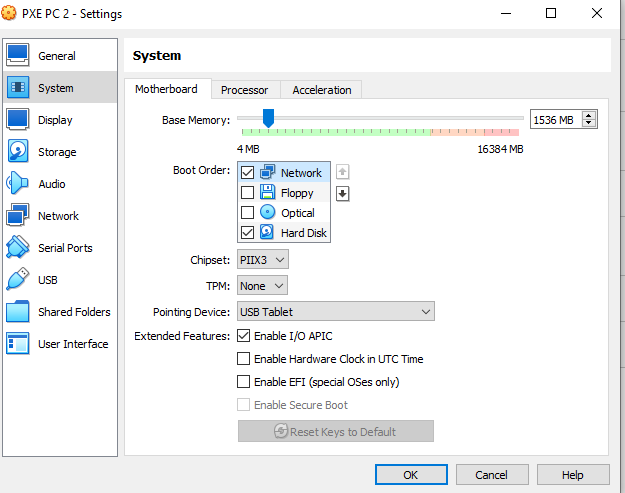
To install Windows on a remote PC via PXE booting, create a new VM, making sure that in the VM settings the network adapter is set to “host only network adapter” and network boot is enabled and highest priority, as shown.
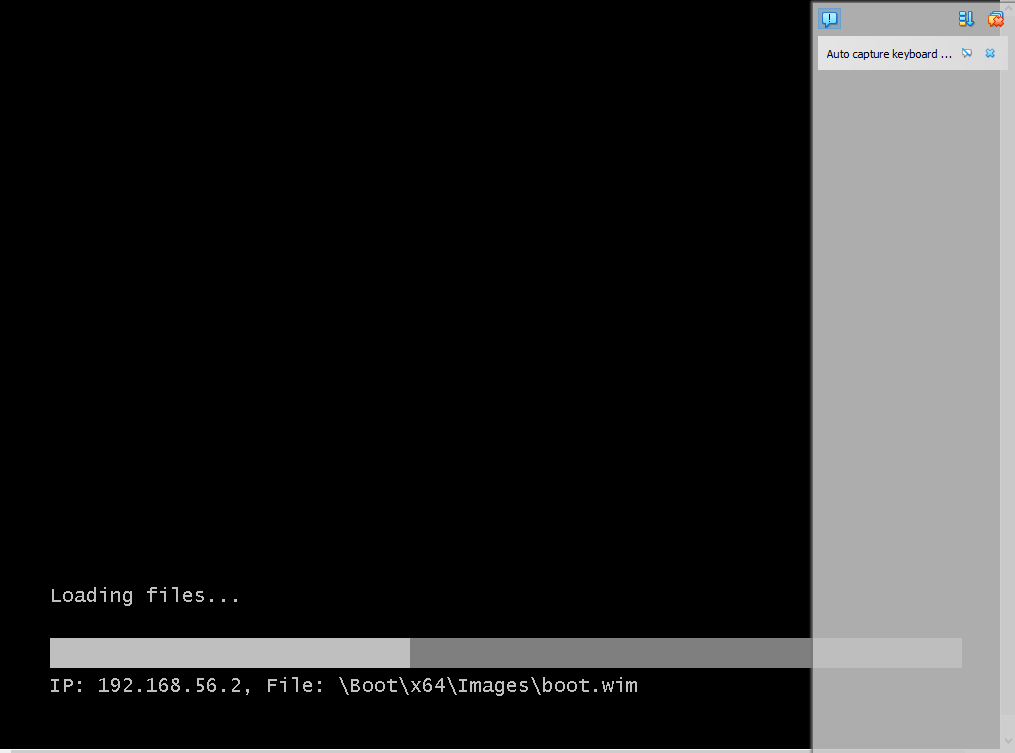
As soon as the VM is started, it will load the boot.wim file from our Windows Server – we can see the Windows Server static IP address (192.168.56.2) here:
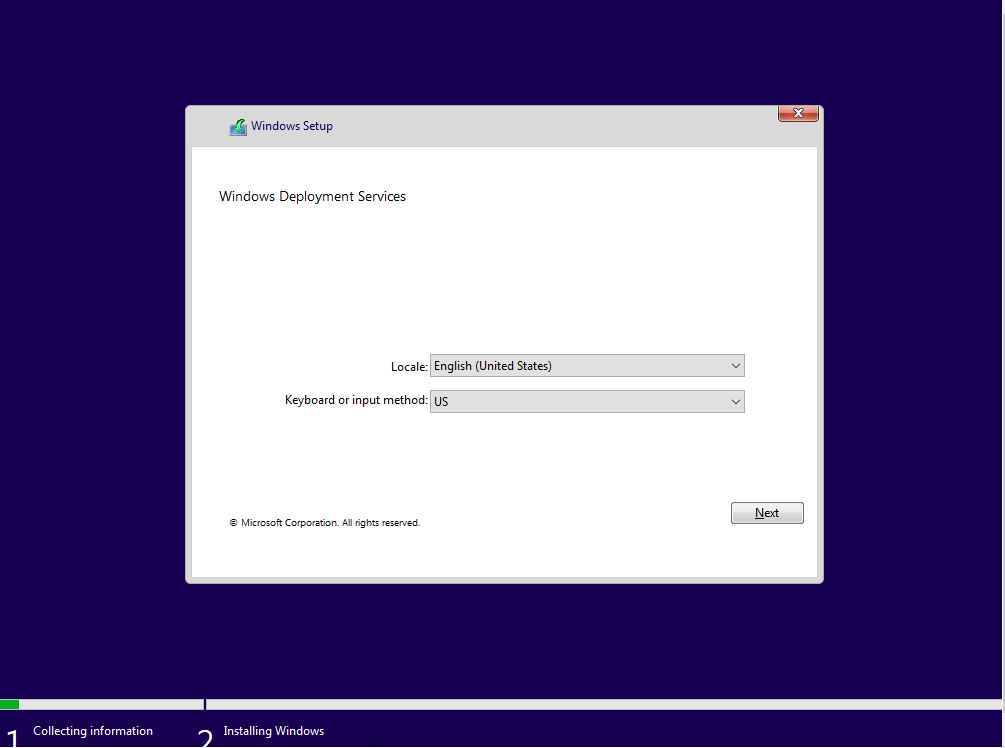
From here it is a normal Windows installation process. Select the language, keyboard layout and desired version of Windows:
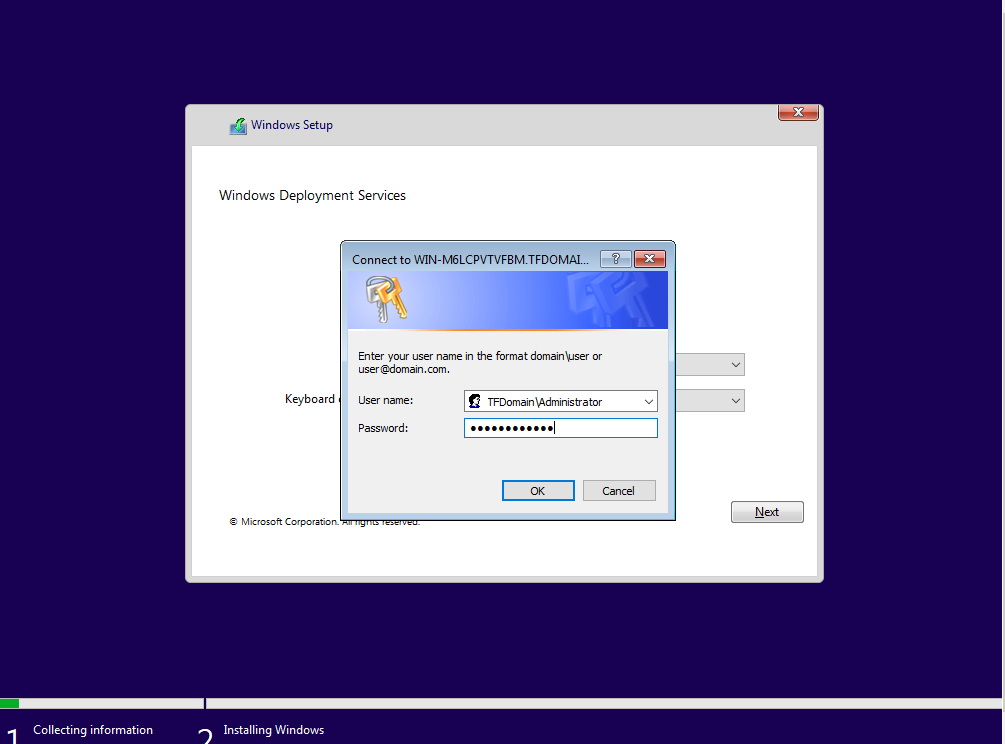
The Windows installation will ask for the Administrator credentials of our Windows server.
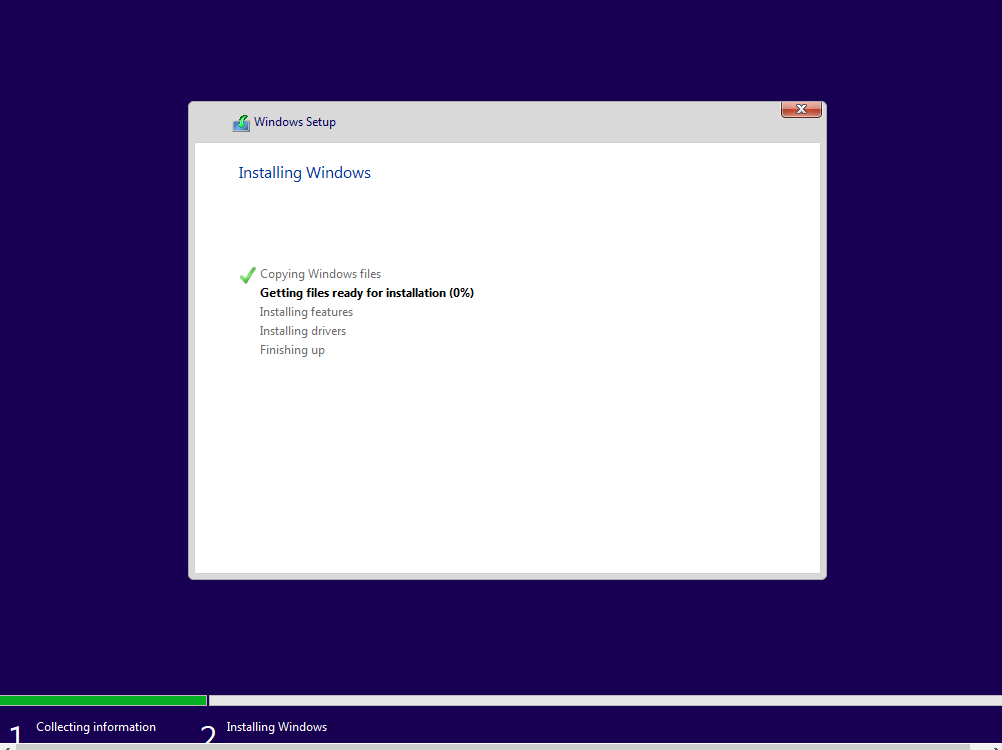
From here it is an ordinary Windows installation:
Once Windows is installed, disable network booting in the PC VM’s settings so it boots from it’s own hard disk.
The user will be prompted to create an account and password. Once the install completes, we can go to the command prompt on the remote PXE client PC and run a simple ipconfig to see that it has automatically been joined to the Active Directory domain and automatically assigned an IP address via our server’s DHCP.

Success~!


